Having virtual machines on Apple M2 Pro
Software development on virtual machines
Software development (SD) requires virtual machines. First, writing applications in languages like Java makes them run on different operating systems (OSes). As it is always a must to test your code, it needs to be run on different OSes. The quickest and IMHO best way to do this is to have virtual machines.
Second, fixing software issues sometimes required a certain OS or a certain desktop environment or additional software, that e.g. shows the bug. To set up the required environment, a virtual machine (VM) is ideal.
What kind of host (that contains the virtual machines) you use, depends on the computer and OS you are working on. In my case, it’s a Mac. There are different hosts available for the Mac. I prefer VMware Fusion, as I consider it to be the cleanest solution from a SD perspective.
Installing a VM on Fusion is straight forward:
- download the OS ISO and attach it to the VM CD drive
- adjust the settings for the virtual hardware of the VM
- power up the VM
Moving from x64 to arm64
Since the new Apple Silicon platform was released, I followed the development, as more and more guest OSes got compatible to ARM. A host on ARM requires the VM OS to be ARM as well.
Windows for ARM is available meanwhile with a set of software, that makes it usable. But what about Linux distributions? VMware published a document, called “The Unofficial Fusion 13 for Apple Silicon Companion Guide”, that describes, what does work on ARM now and what does not. Reading the guide disappointed me at first, as is states:
The Fusion Community is reporting that the Arch Linux ARM port has not been successfully
installed on Fusion 13 on Apple Silicon. Unlike the Intel versions of Arch, the ARMv8 supported
platforms and images for the Arch ARM port are either single-board computers (Raspberry
Pi/ARM development boards) or Chromebooks. The installation images assume the hardware
contains devices that are not provided by Fusion’s virtual hardware. For example, most of the
supported boards have MicroSD cards, which Fusion 13 does not provide.
That’s bad, as Arch Linux is my favorite Linux distro.
I acquired a brand-new Apple M2 Pro macBook, so it was time to get things working. Let’s go!!
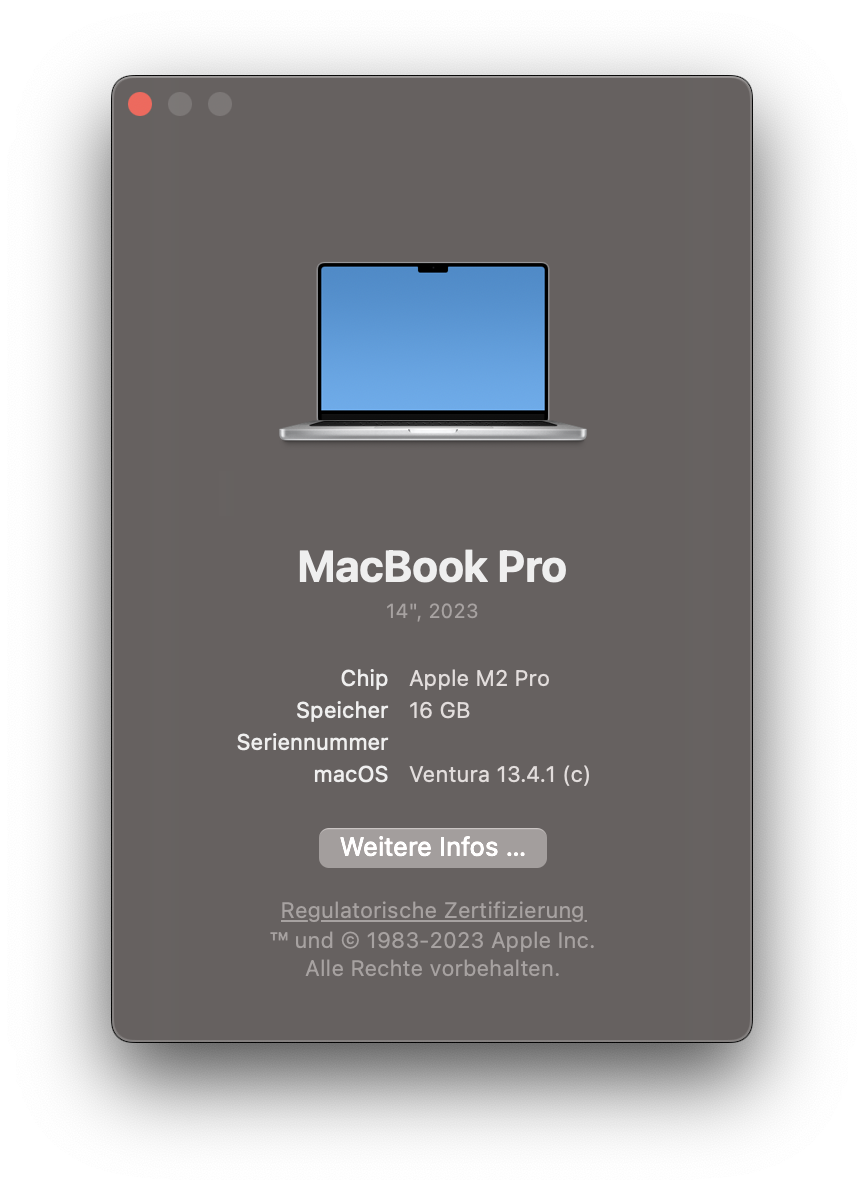 About this Mac
KUbuntu ARM
Ubuntu (ARM) should be supported ootb. The Companion Guide lists the following arm64 releases as known to work on Fusion 13 (page 28):
- 20.04.5 LTS (Focal Fossa)
- 22.04.2 LTS (Jammy Jellyfish)
- 22.10 (Kinetic Kudu)
- 23.04 (Lunar Lobster)
- 23.10 (Mantic Minotaur)
Unfortunately, there is no “ready to go” ISO download for Ubuntu ARM with a pre-installed desktop environment. Instead, you’ll have to find and download Ubuntu Server for ARM on Ubuntus web pages, download that and modify your installation.
Required modifications for KUbuntu 23.04
This turns Ubuntu Server into an Ubuntu Desktop, as we know it. Reference: Companion Guide, page 30:
Install a desktop environment
1
2
sudo aptitutde install tasksel
sudo tasksel
Here you can select a desktop environment of your choice. I’ve chosen KDE.
1
2
sudo aptitutde install open-vm-tools-desktop
sudo snap install snap-store
Change networking management to NetworkManager and update the boot files to reflect the changes
1
2
3
sudo systemctl disable systemd-networkd.service
sudo systemctl mask systemd-networkd.service
sudo systemctl stop systemd-networkd.service
Make a back-up of the /etc/netplan/*.yaml files and configure the networking settings:
1
2
cd /etc/netplan
sudo vi 00-installer-config.yaml
Content of 00-installer-config.yaml needs to be limited to:
1
2
3
network:
  version: 2
  renderer: NetworkManager
Finish the modifications:
1
2
3
4
5
6
sudo netplan generate
sudo systemctl unmask NetworkManager
sudo systemctl enable NetworkManager
sudo systemctl start NetworkManager
sudo update-initramfs -u -k all
sudo systemctl reboot
You are done!
Arch Linux ARM
As we’ve completed level 1, let’s move on to level 2!
The start is similar to Ubuntu above. We need to download a certain ISO. Luckily, the Archboot Project provides one which is build with Arch Linux ARM.
When booted, hitting ENTER starts an installation wizard, that is self-explanatory. Using the wizard has a couple of advantages, e.g. it installs and configures Secure Boot MOK support with Microsoft certificates supported by fedora’s signed shim. This certainly saves a lot of time compared to doing this manually.
Some minor adjustments
In the end, the wizard presents a list of configuration files, that can be modified, before the wizard is ended. The settings are ok, I only had to adjust some minor points.
Change the hostname
I changed it to something meaningful.
locales
The /etc/locale.conf looked like this:
1
2
LANG=de_DE.UTF-8
LC_COLLATE=C
It only lacks an LANGUAGE=de_DE entry at its end.
mirrorlist is empty
Surprisingly, the /etc/pacman.d/mirrorlist was empty, which prevents pacman from working of course. As I am located in Germany, I added the following:
1
2
3
Server = http://mirror.archlinuxarm.org/$arch/$repo
Server = http://de.mirror.archlinuxarm.org/$arch/$repo
Full Arch Linux
Once the wizard has finished, you are put back to the CLI. Before rebooting into your newly installed Arch Linux, the installation needs to be converted into a full Arch Linux, as the Archboot system is stripped down to minimal space usage:
1
update -full-system
Some rework
As we are talking about virtualization, we need the open-vm-tools installed in our VM, to have a proper screen resolution for the VM and working copy & paste between the host and the VM.
I was surprised, that the tools aren’t available in the repro. So we have to compile them manually. Luckily, we are on Arch Linux, so this is no big deal.
First, we acquire the source code, configured for Arch Linux:
1
git clone https://gitlab.archlinux.org/archlinux/packaging/packages/open-vm-tools.git
This is the PKGBUILD and according service files for the x86 architecture. Te only thing we need to change is to replace arch=('x86_64') with arch=('aarch64') in the PKGBUILD script.
This enables us to compile the source code for ARM and install it afterwards:
1
makepkg -si
That was it!
ARM is amazingly fast
It was worth the effort. Check out this screen recording to see, how fast the VM is booting.
To do
I’ll have to find a way to keep manually compiled and installed software up to date.
An even better alternative
Having used VMware Fusion on arm64 for a while, I stumbled over an even better alternative. Read about it here.